How to clean reusable water bottles, caps and seals: a step-by-step guide
In a study of students' own reusable bottles at a Malaysian university, 46% of 37 water samples tested positive for coliform bacteria (Journal of...
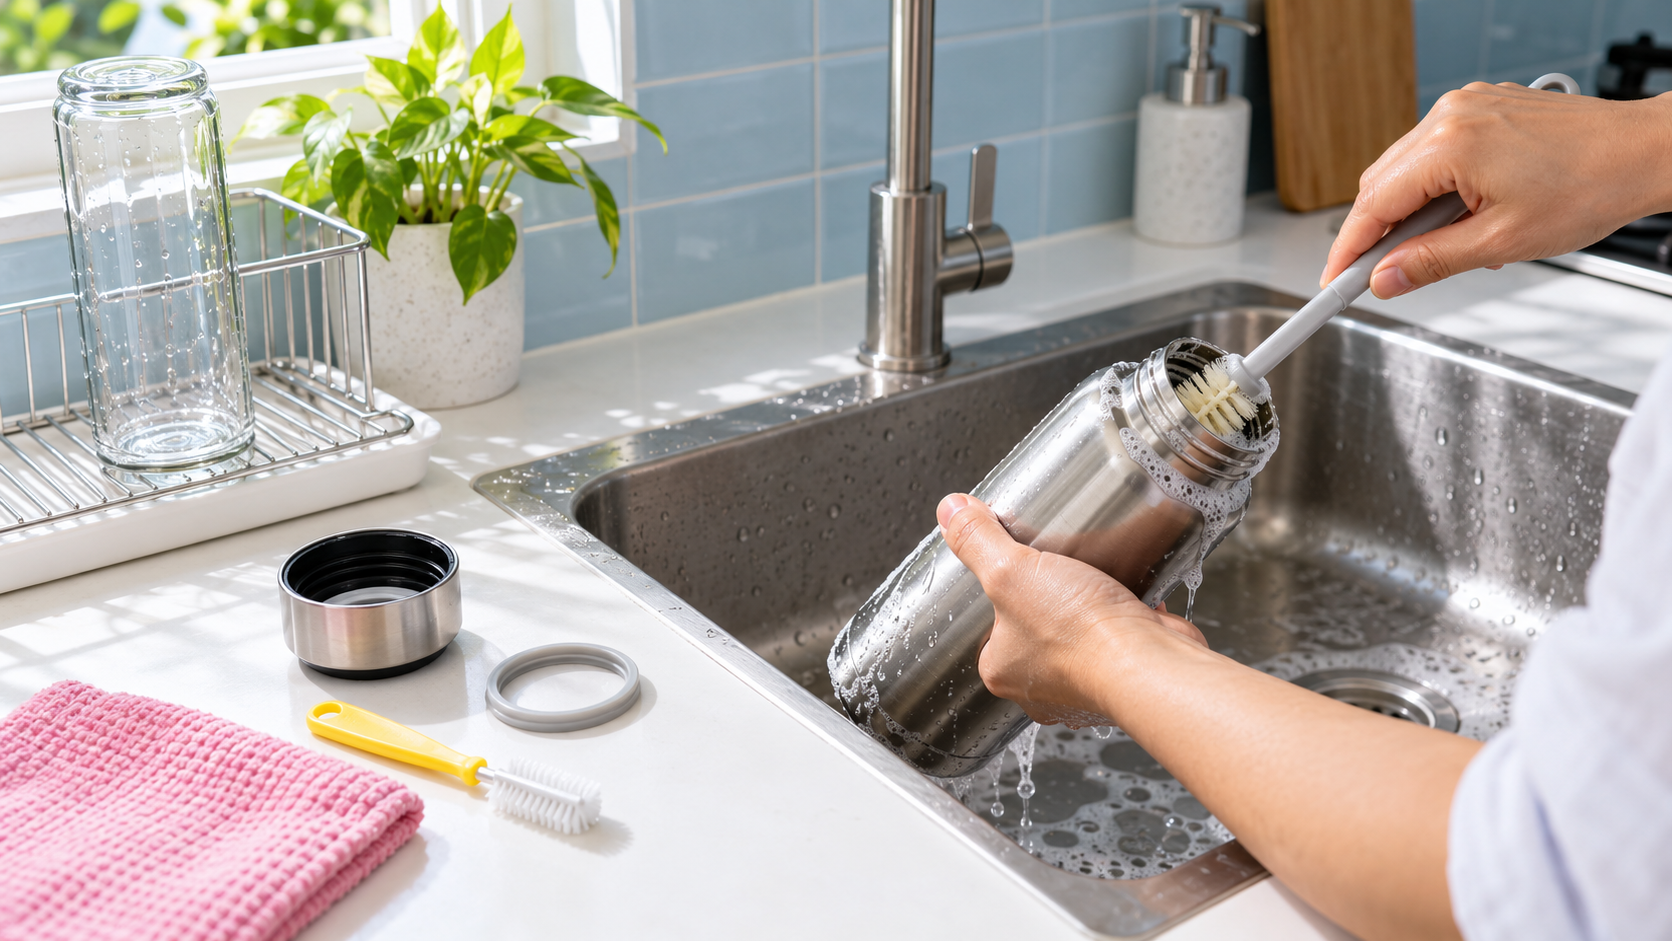

In a study of students' own reusable bottles at a Malaysian university, 46% of 37 water samples tested positive for coliform bacteria (Journal of...
In a study of students' own reusable bottles at a Malaysian university, 46% of 37 water samples tested positive for coliform bacteria (Journal of Environmental Health). For parents packing a school bottle, students and working adults who refill at the office, this guide explains how to clean reusable water bottles: empty the bottle and take apart only the parts the maker says are removable. Wash the body, cap, threads and seal with warm or hot soapy water and a brush. Rinse well, let every part air-dry completely, then put it back together.
University extension food-safety educators advise washing after each day of use (University of Minnesota Extension, via CBS Minnesota; MSU Extension). For readers in Malaysia, the Malaysian Meteorological Department describes our climate as having uniform temperature and high humidity (MetMalaysia). Separately, Cleveland Clinic explains that dark, moist and warm conditions inside a bottle can support mould and bacteria (Cleveland Clinic).
This guide covers checking your bottle's care instructions, cleaning the body, cap, threads and seal, drying everything properly and preventing mould. It also covers optional sanitising, which is a separate step. One small study questions whether daily washing makes a measurable difference; the guide explains why it still recommends it.
Key takeaway
The parts you cannot see need the most attention. Scrub the inside of the cap, the threads and around the seal every day, then dry everything open. The bottle needs to be clean and completely dry before you close it.
In this guide: jump straight to the part of your water bottle cleaning routine you need.
The Malaysian study looked at personal reusable bottles used by undergraduate medical students at Universiti Tunku Abdul Rahman in Sungai Long, Selangor. Of 37 water samples, 46% were coliform-positive and 78% had heterotrophic plate counts above 100 CFU/ml (Journal of Environmental Health). These figures describe that group of bottles only. They do not describe every bottle in Malaysia.
A separate 2017 peer-reviewed study found that 70% of the reusable bottles it tested exceeded 100 CFU/mL of heterotrophic bacteria. ATP readings classed all the tested bottles as dirty (Food Protection Trends). The researchers linked how often bottles were refilled, bottle material, type of drink and cleaning habits to contamination.
None of this means you need to worry about water bottle bacteria every time you take a sip. It does show that a bottle can look clean without being clean, and that is why a regular routine helps. Columbia University's health service also supports regular washing to limit bacterial growth (Go Ask Alice!).
Bacteria can form a biofilm, a layer that sticks to the inside of a bottle and shields bacteria from cleaning products (UNH Extension). That is why a quick swirl of water is not the same as a scrub. The brush physically breaks up what soap alone may not reach.
UNH Extension also notes that any material, whether plastic, glass or metal, can grow bacteria. No bottle material cleans itself.
UNH Extension notes that bacteria thrive in moist places and can form biofilms inside reusable bottles (UNH Extension). MSU Extension also warns against leaving water in a bottle for long periods (MSU Extension).
A small study of personal stainless-steel bottles found no statistically significant difference in aerobic bacteria between bottles cleaned within one day and bottles cleaned less often, up to a month. It also found no significant difference between rinsing with tap water and washing with soap and water (BCIT Environmental Health Journal).
So daily washing is expert advice, not settled evidence. This guide follows the cautious advice of food-safety educators because the study was small and looked at one type of bottle. Other research links cleaning habits to contamination.
Readers often ask how often to wash water bottle parts. The most common expert answer is after each day's use (University of Minnesota Extension, via CBS Minnesota; MSU Extension). The University of Minnesota Extension educator says this can be done by hand with warm water and soap, or in a dishwasher if your bottle's care instructions allow it.
At the end of the day, empty any leftover water. Don't top up old water the next morning, because MSU Extension warns against leaving water in a bottle for long periods.
Wash sooner if the bottle has held anything other than plain water, or if it smells, feels slimy or shows spots. The Food Protection Trends study named drink type as one factor in contamination. It did not set a timing for each drink, so treat this as sensible caution rather than a fixed rule.
TaskSuggested timingSource Empty and wash body, cap, threads and sealAfter each day's useUniversity of Minnesota Extension, MSU Extension Air-dry fully before closingEvery washMSU Extension, Cleveland Clinic Optional sanitisingSeparate step; see the sanitising section belowMSU Extension, CDC (container guidance)Sanitising is optional and separate from washing. It does not replace daily washing.
Bottles differ in material, coatings, insulation, lid mechanisms and seals. One rule cannot fit every bottle. A minute spent checking the instructions can save you a damaged seal or a leaking lid.
Check the bottle base, label or original packaging for a dishwasher-safe symbol. If there is no clear indication, wash by hand (CNN Underscored). A dishwasher safe water bottle label may apply to the body but not to the lid or seal, so check each part separately.
Some care guidance also notes that dishwasher heat may distort silicone seals over time (CNN Underscored). This is a possibility, not a certainty, but it is a good reason to read the lid's instructions as well as the body's.
Take apart only the parts the maker identifies as removable, such as some lids, straws or spouts. Cleveland Clinic advises taking removable parts apart to reach crevices (Cleveland Clinic).
Makers differ here. One bottle maker's care page tells users not to remove the internal silicone lid gasket for normal cleaning. It also explains how to reseat the gasket fully in its groove if it does come out (manufacturer care guidance). If you force off a part that isn't designed to come off, you can stretch, tear or lose it, and that can lead to leaks.
Lost the instructions? Check the maker's official care information if it is easy to find. If not, clean around any part that does not come off easily instead of prying it out.
Common types include stainless steel bottles, plastic bottles, glass bottles and bottles with silicone parts. Each can come with its own washing instructions. Follow the ones for your bottle rather than a general rule.
What to checkWhere to lookWhy it matters Whether each part can go in the dishwasherBase, label, packaging, maker care pageHeat may affect some parts, including seals Removable partsMaker instructionsPrevents damage and lost seals Any cleaning products to avoidMaker instructionsSome surfaces or coatings may need gentler careMost homes already have everything needed for a daily wash. You do not need to buy special products.
Avoid abrasive scrubbers on inside surfaces. UNH Extension notes that abrasive scrubbing can scratch the inside, and scratches can harbour bacteria.
Keep the water at a comfortable hand-washing temperature, and supervise children who help at the sink.
In the Malaysian university study, bottlenecks too narrow to fit a hand for cleaning appeared to contribute to poorer water quality (Journal of Environmental Health). If your bottle has a narrow neck, a long brush is the tool that matters most.
Take a little extra time at the neck and shoulder, where a brush can easily miss. You do not need to replace a bottle you already own. It just needs this extra care.
The cap sits closest to your mouth, and its threads and corners hold moisture. UNH Extension advises scrubbing the inside of the cap as well as the bottle, and NBC News Select lists the lid and threads as common build-up areas.
Lid designs vary widely. Where your own lid's instructions differ from this guide, follow the lid's instructions.
The seal, sometimes called a gasket, is usually a silicone or rubber ring inside the lid that stops leaks. NBC News Select names the area under the seal as a common build-up spot (NBC News Select). It is easy to miss, because you cannot see it when the lid is closed.
Clean around and along the edge of the seal with a soft brush and soapy water, then rinse well. At least one manufacturer advises against removing the gasket for normal cleaning (manufacturer care guidance), so follow your own maker's advice.
Some guidance notes that dishwasher heat may distort silicone seals over time (CNN Underscored). Check the care label for the lid, not just the body.
A seal that is torn, stretched or no longer sits properly may cause leaks. Before you replace the whole bottle, check whether the maker offers guidance on replacement parts. Where it is possible, replacing one small part keeps a working bottle in use.
Rinse the body, cap, threads, straws and seal with clean water until no soap or bubbles remain. MSU Extension and Cleveland Clinic both advise rinsing thoroughly, and NBC News Select notes that rinsing well removes soap residue.
Pay attention to lid crevices and straws, where suds can hide. Use the same safe drinking water or tap water you would use to wash dishes at home.
Leave the body open, upside down or angled on a clean rack so air can get inside. Keep the cap, seal and any straw separate. Cleveland Clinic advises letting every piece air-dry completely (Cleveland Clinic). Mould and bacteria thrive in moist conditions (MSU Extension).
MetMalaysia describes Malaysia's climate as highly humid, so allow plenty of drying time, such as overnight in a well-ventilated spot. None of these sources gives a proven drying time, so check by touch and by eye that every part is dry before you close the bottle.
Closing a damp bottle traps moisture, and Cleveland Clinic notes that trapped moisture lets mould grow. If the morning is rushed and the lid is still wet, let it finish drying before you close it.
Store bottles open, or loosely capped once they are fully dry, in a clean cupboard or on a rack.
Look for visible spots or discolouration, a slimy film, or a musty smell in the bottle, the cap, the threads or under the seal. These are general warning signs that a part needs a thorough clean.
Wash the affected parts thoroughly using the steps above for the body, lid, seal, rinsing and drying, and pay close attention to crevices. Sanitising is a separate, optional step, covered below. If mould will not come off a part, follow the maker's guidance for that part. Not every mark can be removed, and this guide cannot promise that it will.
For health information about mould and bottles, see the Cleveland Clinic guidance. If you have concerns about your health, speak to a doctor.
Routine washing is the main habit. Sanitising advice comes from separate sources, and those sources give different ratios. None of it is written for your specific bottle.
The two ratios differ, and the CDC guidance is written for water storage containers, not personal bottles. MSU Extension's measurements are given in US units, as written by the source. Do not combine or adapt the ratios. Follow your bottle maker's instructions and the bleach product label.
Sanitising is not required for everyday use, and it does not guarantee a germ-free bottle.
The following routines show how washing and drying can fit into an ordinary day. They are illustrations, not a real family or workplace.
Owners can encourage staff to use the same daily wash, rinse and dry routine for their personal bottles, and to keep bottles in a clean, set place. This is practical good practice, not a legal requirement described in this guide.
Keep this checklist near the sink as a reminder of how to clean reusable water bottles.
One small study of stainless-steel bottles found no significant difference between a tap-water rinse and soap and water (BCIT Environmental Health Journal). Extension educators still advise washing with soap and water daily. Biofilm is the reason: it sticks to inside surfaces, and scrubbing helps break it up (UNH Extension).
Only if the care label says so, and check each part, not just the body. Wash by hand if you are not sure. Some guidance notes that dishwasher heat may distort silicone seals over time (CNN Underscored).
None of the sources in this guide support that idea. UNH Extension says any material, whether plastic, glass or metal, can grow bacteria. The Food Protection Trends study links material to contamination, but this guide does not rank materials. Clean every bottle with the same daily care.
Use a long bottle brush and spend extra time on the neck and shoulder. The Malaysian university study found that necks too narrow to fit a hand appeared to contribute to poorer water quality (Journal of Environmental Health).
Only if your maker says it is removable. Some makers advise leaving it in for normal cleaning (manufacturer care guidance). If yours stays in, clean around its edge with a soft brush. See how to clean the seal or gasket for the full steps.
To clean reusable water bottles, caps and seals each evening, empty them, scrub them and let them dry fully. The single most useful change for most people is to stop closing a bottle while it is still damp.
Tonight, check your bottle's care label or the maker's instructions. Find out which parts are removable and which, if any, can go in the dishwasher. Then do one full wash, rinse and dry, and notice how long the parts take to dry in your kitchen. Keep the quick daily checklist handy until the routine becomes automatic.
A well-cared-for bottle you already own lasts longer and reduces the need for disposable drinks bottles. For more practical care guides on everyday cups, plates, containers and lunchware, visit EcoSpoonFork's reusable foodware care guides.